
Photographing each item before you pack it creates a household shipping record of condition, quantity, and value. That single habit gives you evidence you can use months later, instead of a stack of unmarked cartons.
Honestly, most people skip this step. Packing day already feels chaotic, and the camera roll looks like work nobody has time for. At Home Port Northwest, we watch claims stall for weeks because nobody can show what an item looked like before it went into the crate.
To avoid those problems, this guide covers what to photograph, how to build an overseas moving checklist room by room, and which details customs officers want to see.
Let’s jump into the details you’ll want to record.
Photo Evidence: Why It Becomes Your Most Useful Shipping Document
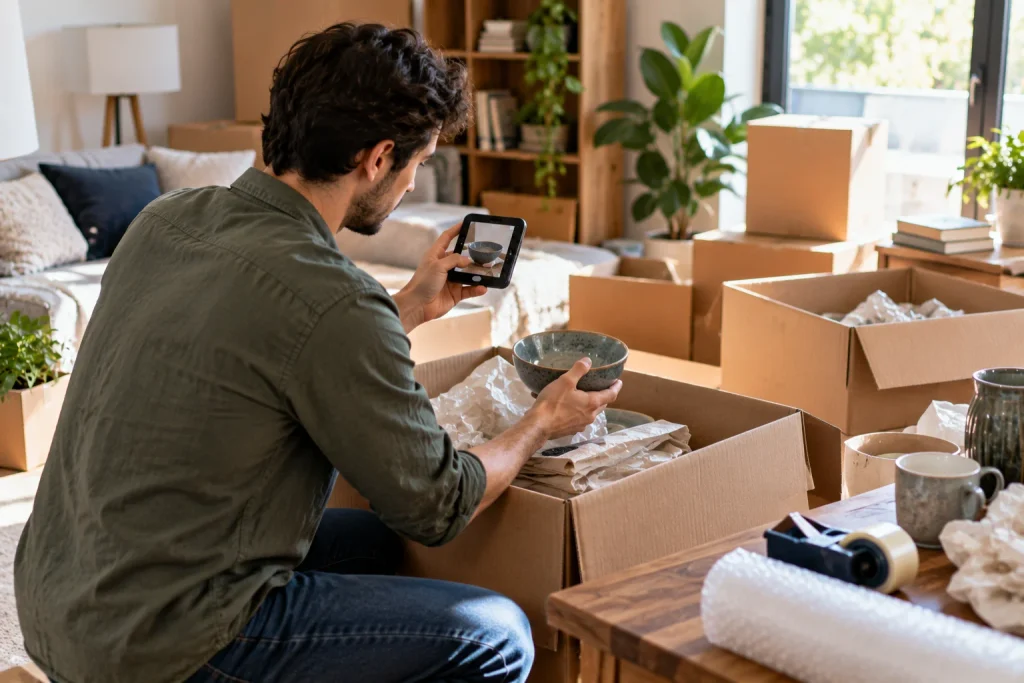
Photo evidence gives you a clear record of your belongings before they are shipped. It can help with insurance claims, customs checks, and damage disputes later.
The following three situations show where dated photos become particularly useful.
How Photos Support Damage and Insurance Claims
Photos give your insurer a dated comparison. If it arrives with a cracked table leg, you can use those photos to show the damage happened during the move. Without clear proof, your claim may be harder to assess.
Photos are only part of the evidence, though. Marine insurers may also ask for a receipt and packing list when assessing a claim. We’ve seen a claim on a $2,400 lounge suite settle in nine days because the owner had all three ready (the receipt did most of the work).
One more thing you should know is that travel insurance rarely covers a shipping container. So, check your marine cover before you fly and treat your camera roll as the first document your insurer reads.
Meeting Customs Requirements in Australia and New Zealand
Customs officers in Australia and New Zealand check one thing first. Are your goods used personal effects, or new items that attract duty and tax? Photos showing wear, brand labels, and packing dates answer that in seconds.
The Australian Border Force allows eligible unaccompanied personal effects to enter Australia free of duty and GST. To qualify, you generally need to have owned and used the goods for the required period before departure.
Biosecurity checks are another concern when shipping to Australia or New Zealand. Officers may inspect outdoor items for soil, seeds, or untreated timber, so photograph them after cleaning to avoid fumigation fees.
You can check official customs guides for declaration requirements and ask your moving company about anything unclear. Once you know what needs declaring, match your photos to each carton so your records are easy to follow.
Photo Proof Helps With Both Air Freight and Sea Freight
Goods sent by air arrive within days, so any damage may still be fresh in your memory. Unfortunately, sea freight takes six to ten weeks. By then, you probably won’t remember every small scratch or mark.
That is why the timestamp counts more than photo quality on a long sea leg (your phone records it for you).
Either way, a shared folder lets handlers at both ends confirm condition without cutting open half the shipment.
Your Overseas Moving Checklist: Room by Room Before the Truck Loads
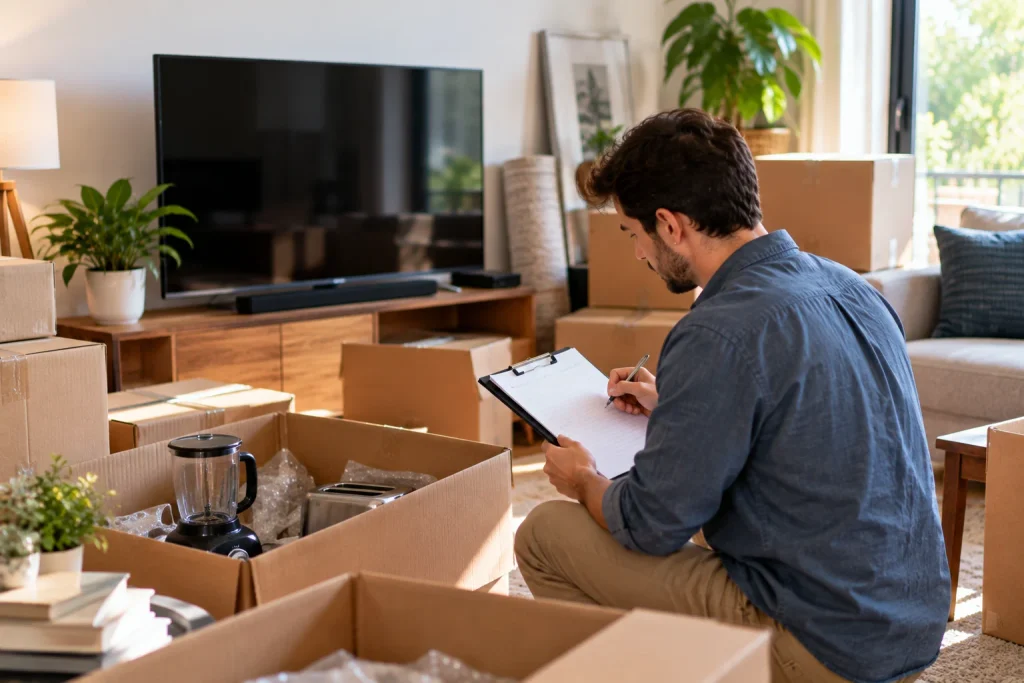
Working room by room stops items from getting lost or double packed. Ask anyone who has shipped a household across the Tasman. They will mention the one box nobody could account for.
Follow your moving overseas packing plan room by room and take photos as you go.
- Bedrooms and living areas: Start with furniture, electronics, lamps, and artwork. Then check your wardrobes before moving on. It’s easy to leave a forgotten item behind a closed door.
- Kitchen and dining: Spend a little extra time on fragile items. Take clear photos of crockery and glassware, especially if you spot any chips or small cracks.
- Garage, garden, and storage: Now check the areas where things often sit out of sight. Photograph tools, bikes, and other stored items. For anything used outdoors, clean off any soil before packing it.
- Important documents and valuables: Lastly, keep passports, certificates, and jewellery with you during the move. Take photos for your records, but store them separately from your household shipping photos.
Pro Tip: As you photograph each carton, give it a number and add the same number to your photo record. Then write it on the lid and sides, so you can find the right box easily when it arrives.
What Should Each International Moving Inventory Entry Include?

Every entry needs an item description, condition, brand, and estimated value. For example, one line reading “Samsung 65-inch TV, 2022, no marks, $1,100” tells an assessor what they need without a phone call.
Along with those details, add the carton number and the room it came from, so your international moving inventory matches what the crew loads. For electronics and power tools, include serial numbers too. They help confirm that the unit you packed is the same one listed in your records.
Receipts can support the value you record as well. For anything worth more than about $500, photograph the receipt beside the item. A clear image of the docket gives valuers proof of what you paid.
Once your records are done, store the lot in one folder and keep a copy in a cloud drive you can open from anywhere. We keep a duplicate copy for every client we move, because phones get lost on the road (a habit worth copying).
Photos and Written Lists Work Best Together for Household Goods Shipping
With your checklist ready, keep your photos and written records together. Photos show the condition of your belongings, while written records track details such as quantity, value, and carton numbers.
The table below shows which job each format does.
| Method | What It Shows | Best Used For |
|---|---|---|
| Photos | Condition, colour, wear, and serial plates at a fixed date | Damage claims, insurance assessments, quarantine questions |
| Written lists | Quantity, carton numbers, values, and room of origin | Customs declarations, delivery checks, budgeting for duty |
Keep both records linked by carton number. That way, you can check an item’s details and condition in one place.
Put simply, photos prove condition and lists prove quantity. Assessors want both before they release money, so keep them side by side in one folder.
Keep Your Moving Records Ready From Day One
Now you know why an hour spent photographing your belongings before packing day can save you trouble later. Your record stays with you through customs, storage, and final delivery at your new home.
Start with one room and work through the rest when you have time. By packing day, you’ll have a clear record ready to go with your shipment.
And if you need a hand with the wider move, Home Port Northwest handles overseas removals and household goods shipping for families heading abroad. Contact us for help building your inventory and planning your packing schedule.