Anyone who’s decided to move abroad knows the feeling of excitement about their new life. But the overseas moving checklist can feel endless. Between researching international movers, sorting legal documents, and preparing for the transition, it’s easy to feel overwhelmed.
Don’t worry, we’ve helped hundreds of Australian families relocate overseas, so we know exactly where people get stuck. The solution is an eight-week overseas moving checklist that makes everything manageable.
This moving abroad checklist covers quotes, paperwork, packing, and arrival prep in your destination country. When you follow this checklist week by week, you’ll stay organised and calm instead of scrambling days before your flight departs.
So, stick till the end to see how simple it can be to move.
Week 8: Get Quotes From International Movers
Start by getting quotes from at least three international moving companies. You might be wondering why “at least three”? Well, it’s the only way for you to find the best price and service for your belongings.
Most quotes vary by $2,000 to $5,000, depending on volume and destination. Here’s what to ask:
- Written Quotes With Full Breakdowns: We suggest you ask for itemised quotes that separate packing, shipping, insurance coverage, and customs fees. When everything’s spelled out clearly, you won’t get hit with surprises at delivery.
- Confirm Insurance Details Upfront: Most international movers offer basic coverage for damaged or lost items. Beware, there is a catch. Valuable electronics and furniture usually need extra protection. This may cost more, but it saves you thousands if something breaks during the move.
- Check Their Customs Experience: Companies that know your host country’s import rules are able to move your belongings through customs faster. The truth is, most people underestimate how this saves weeks of waiting at the border.
These details help you pick reliable movers without wasting money. Once you’ve secured your international movers, tackle the paperwork next.
Week 7: What Important Documents Do You Need?
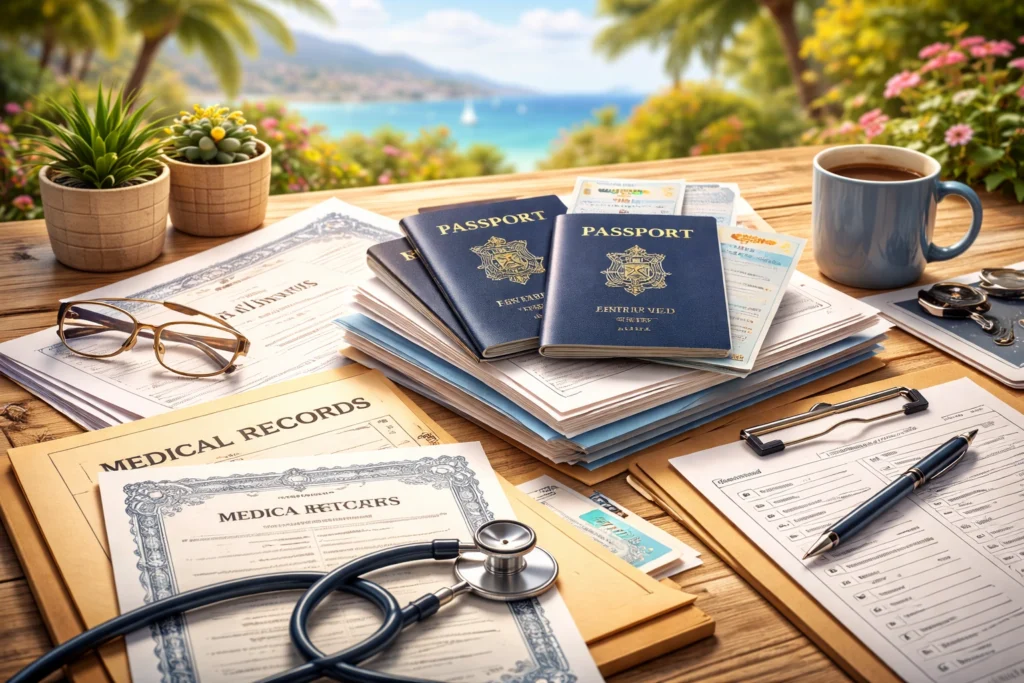
You need passports, visas, medical records, birth and marriage certificates, and any legal documents your host country requires. Our clients shared that starting early has saved them multiple times from last-minute airport panic.
Let’s see what to prioritise:
Visa and Entry Requirements
Always remember to check your destination country’s eligibility criteria through the Department of Home Affairs before you book flights. From what we’ve seen, the most common mistake is forgetting certified copies of birth certificates.
Lucky for you, Smartraveller provides country-specific entry guidance that clarifies what documentation you’ll need on arrival.
Backup Everything
Here’s a very important piece of advice for you: go digital.
What we mean is be sure to scan passports, vaccination records, dental records, and power of attorney documents into cloud storage. But don’t forget to keep physical certified copies in your carry-on. You can take this one step further by leaving another set with friends and family back home.
With your documents sorted, let’s focus on setting up your finances for life abroad.
Week 6: Set Up Your Bank Account in Your Host Country
Remember to always set up an international bank account before you leave. The last thing you want is to spend your first two weeks stuck in bank branches.
Start by researching popular banks in your new country and see if you can open a bank account online. Based on our research, most international bank account providers let expats complete applications remotely. This way, everything’s ready when you land.
Once your new account is open, monitor the exchange rates closely. Because even a 2% difference means hundreds of dollars saved on large transfers, timing strategically pays off.
Don’t close your Australian bank account just yet, either. Keep it open temporarily to cover remaining bills and receive payments from your home country. This overlap makes the transition smoother.
With your finances sorted, next up is protecting your health in your destination country.
Week 5: Health Insurance and Coverage Sorted
By week five, you should sort out your travel insurance and health insurance. Why? Well, most countries require proof of coverage for visa approval, and some check again at immigration.
Here’s your health insurance checklist:
|
Task |
Why? |
|
Check the current insurance provider coverage |
Some policies don’t cover long-term moves abroad |
|
Research local health insurance in the host country |
Many countries require proof before granting visas |
|
Register with Medicare expat services |
Maintains future Australian healthcare access temporarily |
Based on our firsthand experience, people get turned away at immigration because their insurance coverage didn’t meet requirements. And that’s exactly why we ask you to contact your insurance provider weeks before departure.
With your health covered, there’s another detail back home that needs attention.
Week 4: How Do You Handle Mail With Australia Post?
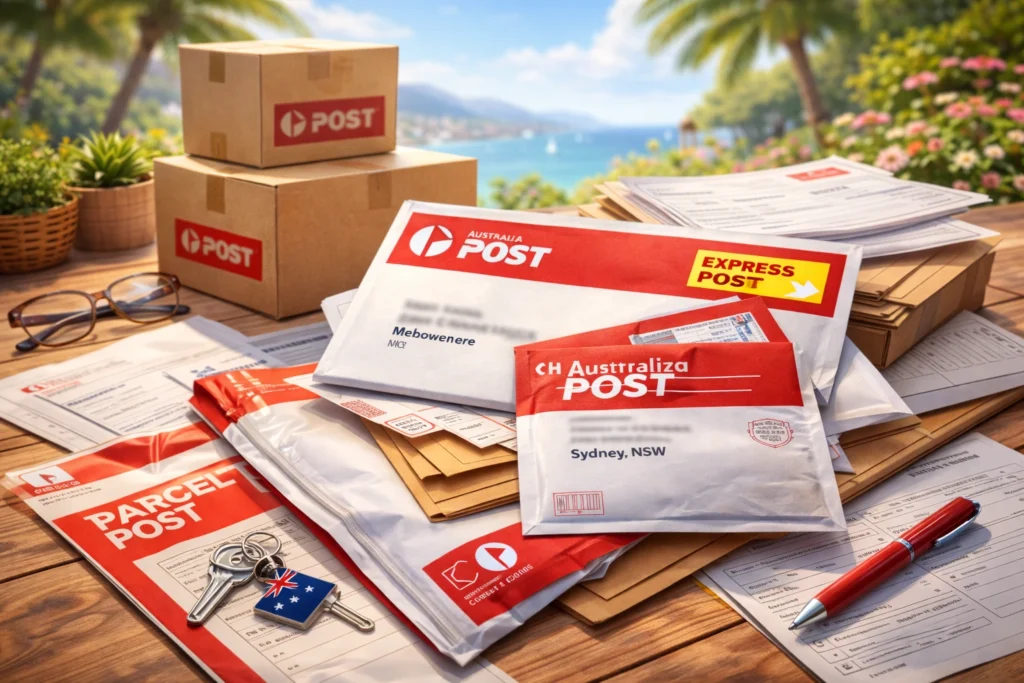
At week four, you should set up mail redirection through Australia Post so everything forwards to friends and family who can help you out while you’re abroad. You don’t want to miss bills, tax notices, or legal documents that could cost you hundreds in penalties.
Let’s sort this:
- Redirect Your Mail: Forward letters to a trusted contact for 12 months through Australia Post (and yes, we’ve all received that ‘final notice’ bill three months after moving).
- Cancel What You Won’t Use: Keeping utility companies and subscriptions active from your foreign country burns money. So, don’t forget to cancel electricity, gas, phone plans, and streaming services before you leave.
- Update Government Records: The Australian Taxation Office needs your departure date and tax obligations updated. And while you’re at it, inform Services Australia about Medicare and payments while you live abroad.
These steps prevent expensive mistakes later. Now, let’s discuss Week three, when you start packing for your move abroad.
Week 3: Packing Non-Essentials
Packing non-essentials now means you’ll get to avoid the last-minute chaos of throwing random items into boxes, forgetting what’s where, and paying extra for rushed shipping.
Here’s where to start:
- Pack Items You Don’t Need Yet: Box up winter clothes, books, and decorations now, since you won’t miss them.
- Label Everything Clearly: Use colour-coded labels that show contents and rooms. You’ll save hours searching when jet-lagged.
- Sell or Donate Extras: Believe it or not, most people ship 30% more than they actually use. So, we suggest you be ruthless about what makes the cut.
Getting this done early means your final week becomes about last-minute essentials and goodbyes. You’ll also have time to double-check important documents and spend quality moments with friends and family.
Next, make sure that your family members are prepared for the transition.
Week 2: Are Your Family Members Ready?

Moving overseas affects everyone in your household, not just you. So sit down with all family members this week and cover the basics: local customs, local language phrases, and schools for the kids.
If you have kids, they’ll need extra support through this change. So, take it upon yourself to help them pack comfort items like special toys or blankets, because homesickness hits way harder when they’re unprepared for it.
On the practical side, you’ll need to check everyone’s travel documents, vaccination records, and medications for life abroad. Do you have pets? If yes, then start arranging their pet carrier, health certificates, and quarantine paperwork now because some countries need months of preparation.
Don’t skip the money talk with your family either. Sit down together this week and build a realistic budget that covers living expenses in your destination country. When everyone understands the costs upfront, there are fewer surprises after you arrive.
With your household ready on all fronts, the final week becomes much simpler.
Week 1: Final Checks Before You Leave
So, everything heavy is done. This week, you’re just tying up loose ends before your move. But wait, you’ve got a few more tasks beyond filling your suitcase.
Here’s what needs some last-minute attention:
- Pack Essentials and Confirm Travel Details: As we mentioned before, your carry-on must hold copies of your important documents. While organising this, remember to confirm your flight details and verify your international movers have the right new address and delivery timeline.
- Do a Final House Sweep: Walk through every room looking for missed items. This also gives you time to arrange a key handover with your real estate agent.
- Keep Valuables With You: Never pack expensive items or prescription medications in checked luggage.
Thanks to these steps, you will be able to catch things like phone chargers on bedside tables or passports in desk drawers.
Now that you’ve worked through all eight weeks systematically, let’s wrap this up.
Your Overseas Moving Checklist: Ready to Go
Moving overseas creates stress when you’re juggling quotes, paperwork, packing, and family preparations all at once. An eight-week moving overseas checklist solves this by breaking everything into manageable weekly tasks that keep you organised from start to finish.
Week by week, you’ve covered international movers, important documents, bank accounts, health insurance, mail redirection, packing strategies, family preparation, and final departure checks. Each step was designed to remove guesswork and prevent costly mistakes.
At HomePort NorthWest, we take you through every step of your move abroad with the hands-on support and international shipping expertise you need. Our team makes international relocations straightforward and stress-free.
Get in touch today!